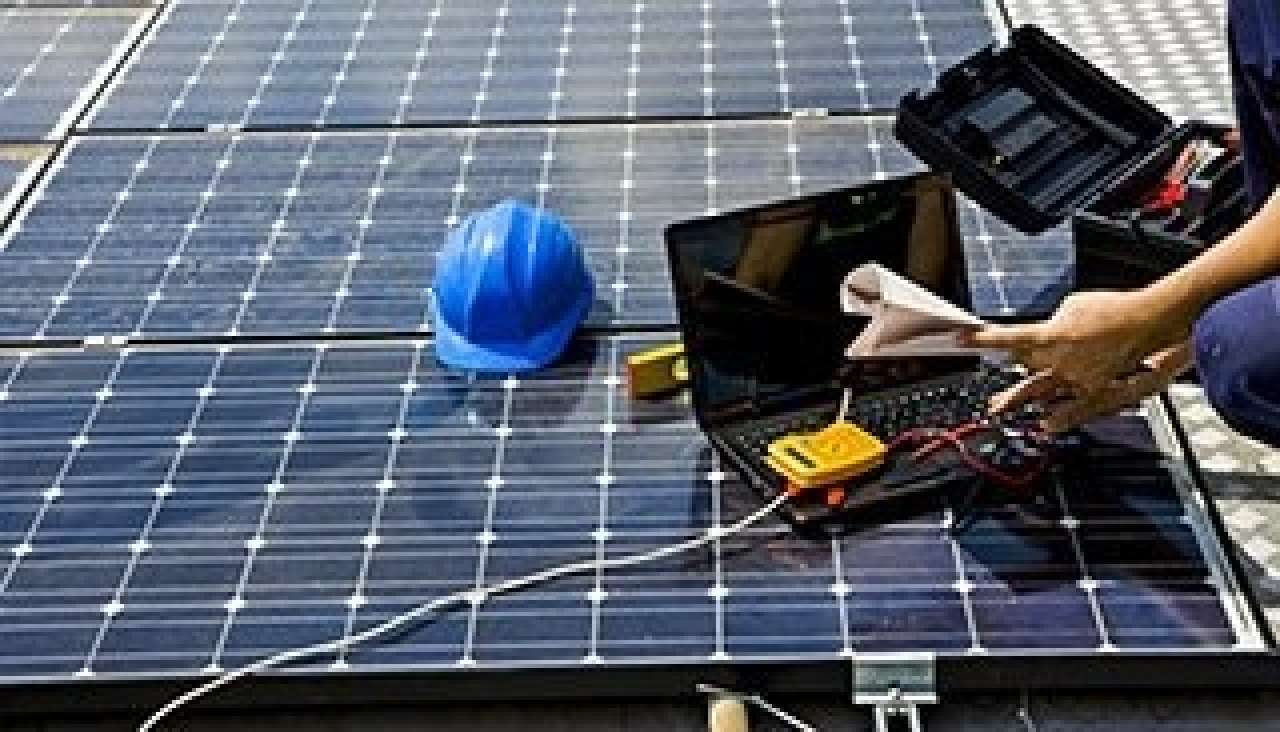
Step by step solar installation process
Posted on 18 July 2018
You’ve decided to go with solar, but you’re unsure of how to get there. Installing a solar panel system doesn’t have to be complicated. Here’s a step by step breakdown of the installation process:
1. Do your research
Do your research before investing in solar to make sure you find a system that works for you. Make sure you look into whether you are looking to install PV or battery, what cost you’re willing to spend and what return on investment you are looking for, and what incentives are available (for example, government rebates and retailer payments).
2. Contact your electricity retailer
Make sure you contact your electricity retailer to confirm the retailer payment, your current cost of electricity, and whether you are locked into any contracts. This will ensure you don’t get hit by any unexpected costs.
3. Find a solar retailer and plan your system
Find the right solar retailer for your needs. Ensure that they are reputable so as to avoid any issues. Consider Solar Power Direct; we have been installing solar systems since 2011. We only use CEC accredited Installers, and can also assist with determining system size, providing a design of installation and offer quality accredited products for installation.
4. Sign a contract
Before you sign a contract, ensure you do the following:
• Contact your electricity retailer and asked about any tariff changes that may apply after solar is installed.
• Shop around, and compare quotes.
• Ask your solar retailer important questions to ensure that they’re reputable. These could include: whether they will be available to troubleshoot and fix problems and for how long, what system performance and workmanship guarantees can they provide, and details about the warranty.
• Make an application to connect to the grid network. Solar Power Direct does this on behalf of our customers.
• Ensure you have information about your solar retailer’s warranties in writing. Solar Power Direct always includes warranty info in your quotation and your post-installation compliance pack.
5. Install your system
To avoid any problems, ensure that your system is installed by a CEC accredited installer. Make sure you receive all documentation including the following:
• A list of equipment supplied
• Shutdown and isolation procedure for emergency and maintenance
• A basic connection diagram including the electrical ratings of the PV array and the ratings of all installed overcurrent devices and switches
• System performance estimate • Recommended maintenance for the system • Maintenance procedure and timetable
• The commissioning sheet and installation checklist
• PV array frame engineering certificate for wind and mechanical loading • Installer/designer’s declaration of compliance
• Equipment manufacturer’s documentation and handbooks for all equipment supplied
• A list of actions to be taken in the event of an earth fault alarm
• Warranty information
6. Connect to the grid
As mentioned above, you’ll need to apply to connect to the grid. In South Australia, the body to speak to is the SA Power Networks. Solar Power Direct completes this step on behalf of all our customers.
You’ll also need to change your meter. This is done by your retailer, who will reconfigure or replace your existing meter prior to connecting to the grid. You might need to do this before or after installation, depending on the requirements in your state.
7. Maintain and enjoy your new solar system
Maintenance can include things like cleaning and routine inspections to make sure that your system is in tip-top shape. Solar Power Direct can offer both after-sales options to our customers and assist with any warranty issues that may occur.


